
Naval answer
How naval play works in Black Flag Resynced
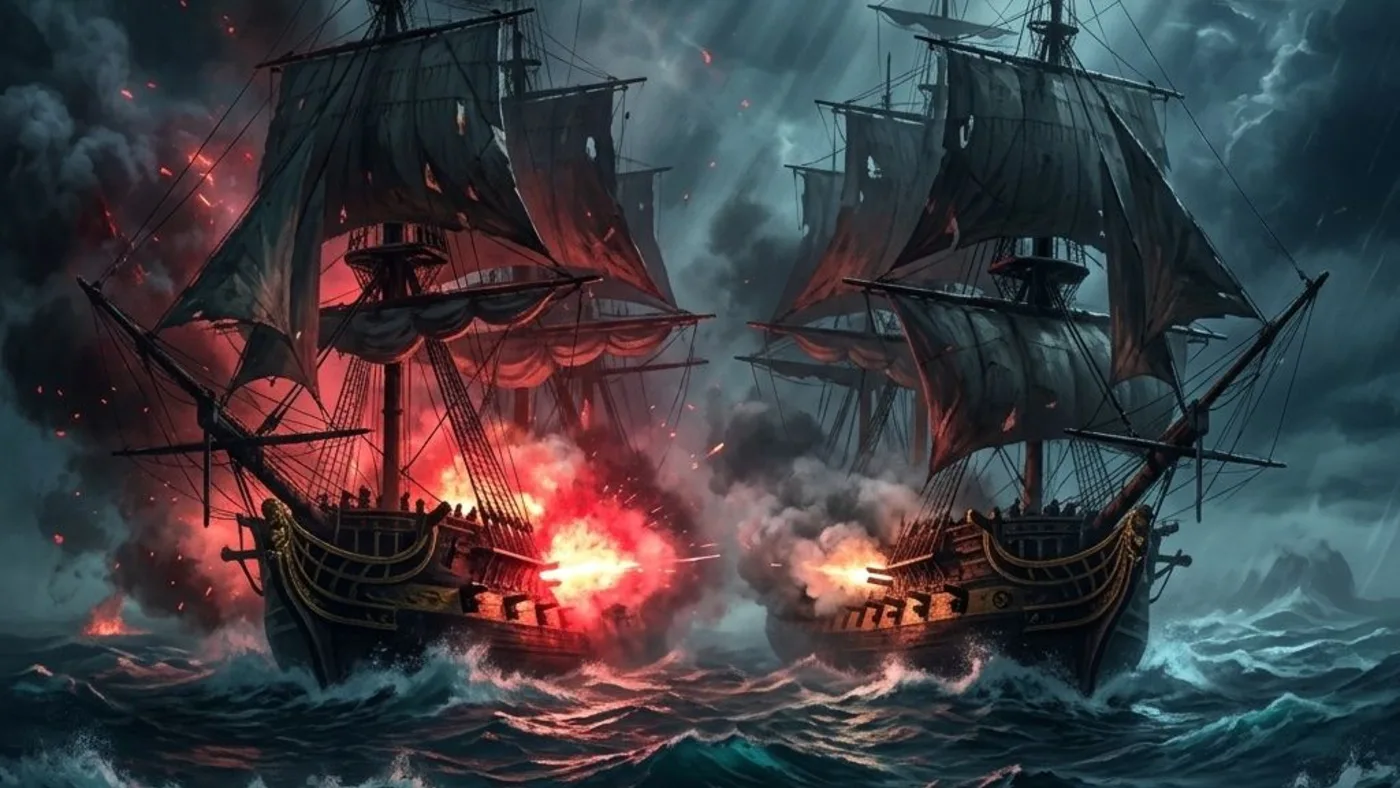
Naval play is the Jackdaw layer of Black Flag Resynced: sailing between regions, attacking ships, surviving broadsides, using mortars and rams, boarding targets, clearing forts, hunting, and chasing elite design plans.
| Naval need | Jackdaw answer | Route trigger |
|---|---|---|
| Survive longer fights | Hull and armor | Forts, legendary ships, and heavy contracts |
| Win close exchanges | Broadside cannons and heavy shot | Boarding routes and large ship fights |
| Open at range | Mortars | Forts, heavy ships, and safer first strikes |
| Control approach | Ram and fire barrels | Chases, escapes, and boarding setup |
| Improve resource loops | Harpoon and storage | Crafting, hunting, and supply pressure |
Sea blockers
What to inspect before a hard sea route
Most failed naval routes come from entering the fight with the wrong Jackdaw weakness.
- If the Jackdaw sinks too quickly, solve hull and armor first.
- If fights take too long, solve broadside, heavy shot, and mortar damage.
- If approach or pursuit fails, solve ram strength, fire barrels, and positioning.
- If a late upgrade is locked, route elite design plans and treasure maps before retrying.
Naval route order
How to group sea objectives
Naval routes save the most time when forts, contracts, treasure maps, shipwrecks, and upgrade plans are grouped by waters instead of cleared one by one.
Post-update sea test
Keep the opening exchange comparable
After an update or a New Game+ announcement, ship advice is easiest to trust when the route stays fixed. Repair, restock, choose the failing lane, and repeat the same opening before changing a second variable.
- Check hull health, crew, ammunition, and repair resources before leaving port.
- Choose survival, damage, range, control, or escape as the single pressure to test.
- Use the map to confirm the sea lane and an exit route before starting the encounter.
- Ubisoft documents offline-after-install campaign play under PC Features; confirm console licence rules and connected Animus Hub access separately.
Encounter choice
How should you prepare for a fort, contract, or legendary ship?
The same Jackdaw build does not solve every sea encounter. Name the encounter first, then prepare the opening exchange that tests the pressure most likely to end the attempt.
| Encounter | Preflight | Opening test |
|---|---|---|
| Fort | Mortar range, hull, repair supply, and an exit lane | Open from range before committing to a close pass |
| Legendary ship | Survival lane, ammunition, and a repeatable escape line | Track hull loss during the first exchange |
| Naval contract | Objective wording, target route, and cargo space | Keep the target in range while preserving the required objective |
| Hunting or salvage | Harpoon lane, storage, and sea-state awareness | Repeat the same approach and count the material gained |
| Storm or difficult water | Repair resources and a safe exit heading | Prioritize control and survival before damage |
Sea-combat playbook
Run the complete Jackdaw loop: navigate, inspect, engage, board, and recover
Naval play in Resynced is more than lining up a broadside. Pathfinder and Follow Sea change travel, the Spyglass exposes cargo, boarding pays more loot than sinking, forts use dynamic morale, and bad weather can damage the Jackdaw through waterspouts or lightning. Prepare the entire loop before a hard encounter.
- Against a fort, reduce morale through the naval and land phases before committing to the commander.
- Against a legendary ship, prepare for one of four rebuilt encounters: El Impoluto, the Twins, La Dama Negra, or HMS Prince.
- Use secondary fires deliberately: heated shot for broadside damage, shrapnel barrels for sails and escape, double bow-chaser fire for pursuit, and the alternate mortar for area pressure.
- If Wanted Level rises, lower notoriety through boarding choices or a port officer before a stronger Pirate Hunter joins the chase.
- Record what ended the attempt so the next test changes one ship or approach variable.
| Phase | Expert action | Failure it prevents |
|---|---|---|
| Navigate | Set Pathfinder, choose Follow Sea only when the heading is safe, and keep an exit route | Arriving at a fight with no retreat line |
| Inspect | Use the Spyglass to check cargo, ship class, and target position | Spending crew and ammunition on a low-value target |
| Engage | Choose one pressure: survival, range, damage, control, or fort morale | Changing upgrades and weapons without knowing what helped |
| Board | Lower enemy morale and choose loot, repair, wanted-level reduction, fleet, or lockbox | Sinking a valuable resource ship when the upgrade needs materials |
| Recover | Restock at the Harbourmaster and repair the Jackdaw before the next route | Carrying a damaged ship into a second encounter |
| Weather | Watch for two waterspout types and lightning AoE in storms | Treating environmental damage as an enemy-aim problem |
After-action report
Turn one failed sea fight into the next correct upgrade decision
A naval defeat contains more information than a win if the reason is recorded. Use the report immediately after the encounter so the next attempt changes one variable and keeps the same opening conditions.
- Write the failure before spending resources; the first impulse is often to buy damage for a range or control problem.
- Repeat the same sea lane and opening exchange after one change.
- If the encounter is a fort, keep the naval and land phases in the same report.
- If the target is a legendary ship, record the phase where the rebuilt encounter diverges from your classic route.
| What ended the attempt | Record | Next controlled change |
|---|---|---|
| Hull collapsed | Distance, brace timing, repair state, and weather | Hull/armor or Lucy's Perfect Brace route |
| Cannot reach the target | Target heading, bow angle, and escape speed | Bow chaser, ram, shrapnel barrel, or Pathfinder line |
| Forts overwhelm the approach | Mortar range, morale phase, and land transition | Mortar/storage, range, or a different opening |
| Boarding fails | Crew count, morale, deck landing, and officer state | Restock, Padre route, or a safer disabled-ship approach |
| Storm causes unexplained damage | Waterspout/lightning position and exit heading | Control and survival before damage upgrades |
Encounter preflight split
Prepare the Jackdaw for the sea job you are actually starting
A fort assault, a resource boarding, and a legendary ship attempt can all end with a damaged Jackdaw, but they demand different first decisions. Choose the encounter type before restocking so the opening exchange and the recovery plan fit the objective.
- Write the encounter type and the one result you need before leaving the Harbourmaster.
- Use the Spyglass and current ship state to decide whether the first target is worth ammunition, crew, or a boarding window.
- Keep fort morale, legendary-ship phases, boarding rewards, and storm damage as separate evidence; a single damage number cannot explain all four failures.
- Set a fallback port or route interruption point before committing to a long sea lane.
- After the encounter, carry the result to Jackdaw Upgrades, Elite Design Plans, Treasure Maps, or Locations instead of repeating the same preflight.
| Encounter type | Before leaving port | First sea decision | Recovery signal |
|---|---|---|---|
| Fort assault | Repair, mortar ammunition, brace timing, and a land exit | Open from a repeatable range and reduce morale before entering the response zone | The Jackdaw reaches the landing phase with an exit route and enough repair margin |
| Naval contract | Spyglass cargo, target class, wanted level, and the reward you need | Choose sinking or boarding before the first broadside | The target result gives the intended reward without draining the next route |
| Legendary ship | Full repair, officer perks, secondary fires, and open water for a reset | Learn the encounter's first pattern before chasing damage | You can survive the opening pattern and repeat the attempt from a known position |
| Resource boarding | Crew, repair supplies, cargo goal, and a safe return port | Lower morale while preserving the crew needed for the deck | The chosen loot, repair, fleet, wanted-level, or lockbox result is visible in the save |
| Storm or long transit | Pathfinder heading, weather space, repair margin, and fallback port | Change course early when waterspouts or lightning close the safe line | The Jackdaw arrives with the planned supplies instead of turning weather damage into a combat diagnosis |