
Location types
Use locations as route hubs
A location page should help you decide what else is nearby before you leave the region.
| Location type | Route use | Open next |
|---|---|---|
| Cities | Rooftops, viewpoints, shanties, fragments, and missions | Parkour |
| Islands | Beach icons, treasure, hunting, and small settlements | Map |
| Forts | Naval power, restricted cleanup, and nearby contracts | Naval |
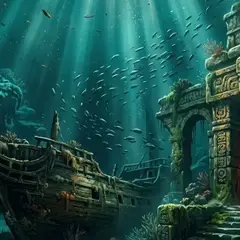
| Shipwrecks | Diving routes, chests, fragments, and treasure | Collectibles |
Regional route refresh
Use a location as a leave-region decision
A city, island, fort, or water route should answer more than where the marker sits. Before sailing away, use the place hub to decide whether the nearby work belongs to the map, a collectible family, treasure, a contract, or a memory.
| Place signal | Open next | Leave only after |
|---|---|---|
| City or port | Map + Parkour + Collectibles | Viewpoints and moving pickups are accounted for |
| Island or ruin | Treasure Maps + Mayan Stelae | Dig clues and outfit progress are checked |
| Fort or sea lane | Naval + Jackdaw | Hull, ammunition, and opening approach are ready |
| Mission area | Walkthrough | The current objective and optional condition are clear |
Location itinerary
What should you clear before leaving Havana, Kingston, or Nassau?
A location page should prevent repeated travel. Use the place type and the work that naturally clusters there, then leave only after the local counter, moving pickup, or mission handoff is clear.
| Place on the route | Bundle before leaving | Reason to return |
|---|---|---|
| Havana | Rooftop movement, viewpoints, shanties, and city collectibles | A missing moving pickup or a later mission marker |
| Kingston | City icons, viewpoints, contracts, and nearby story checks | A memory or counter that unlocks after progression |
| Nassau | Port services, local markers, and nearby island clues | A treasure or ship route whose prerequisite is not ready |
| Great Inagua | Templar keys, the hideout armor interaction, Jackdaw purchases, and local map families | Only the record whose own inventory, interaction, ship-menu, or counter proof is still open |
| Island or ruin | Buried clues, stelae, hunting, and beach pickups | A missing coordinate or unconfirmed reward |
| Fort or sea lane | Naval prep, map marker, and exit route | A ship blocker that needs a different upgrade lane |
Regional itinerary
Use each location as a different kind of hub
Cities reward movement planning, forts reward preparation, ports connect to Harbourmasters, and islands mix surface, underwater, and collectible work. The same “nearby checks” label should lead to different actions depending on what Edward is standing beside.
| Location type | Do this first | Leave with |
|---|---|---|
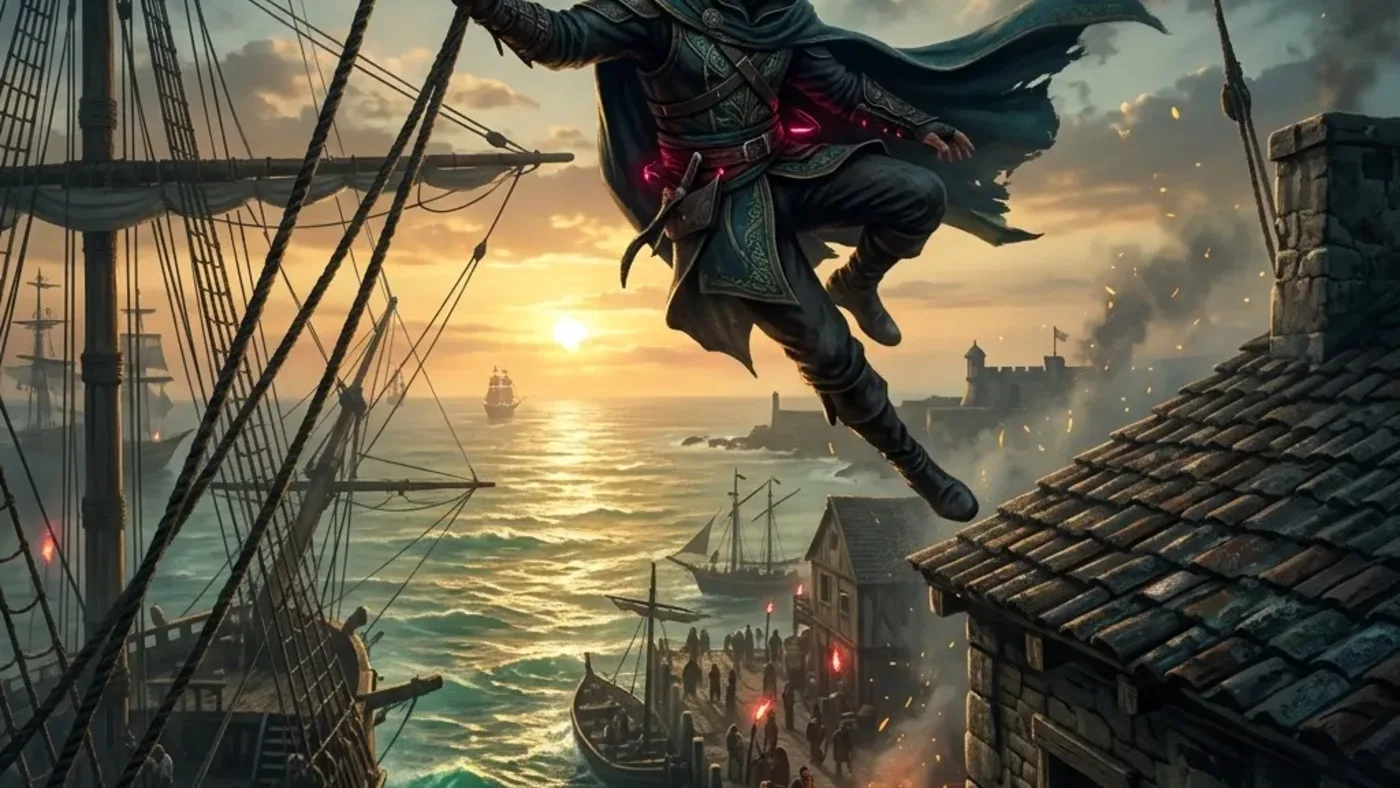
| City | Use Observe, crouch, rooftops, ziplines, and social stealth to plan movement | A clean route for shanties, viewpoints, fragments, and mission markers |
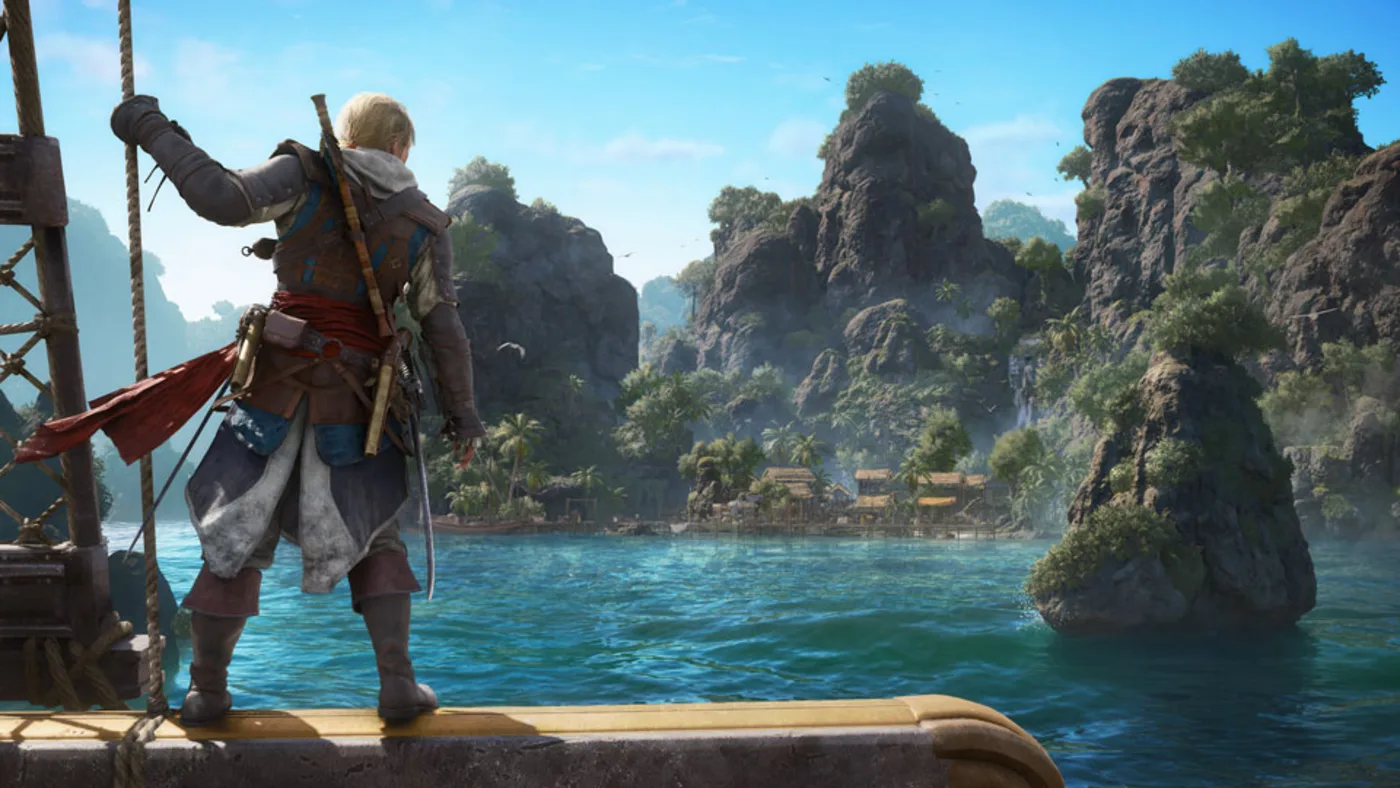
| Island or jungle | Check climbable flora, beaches, hunting, and shallow dive points | A short list of surface and underwater work |
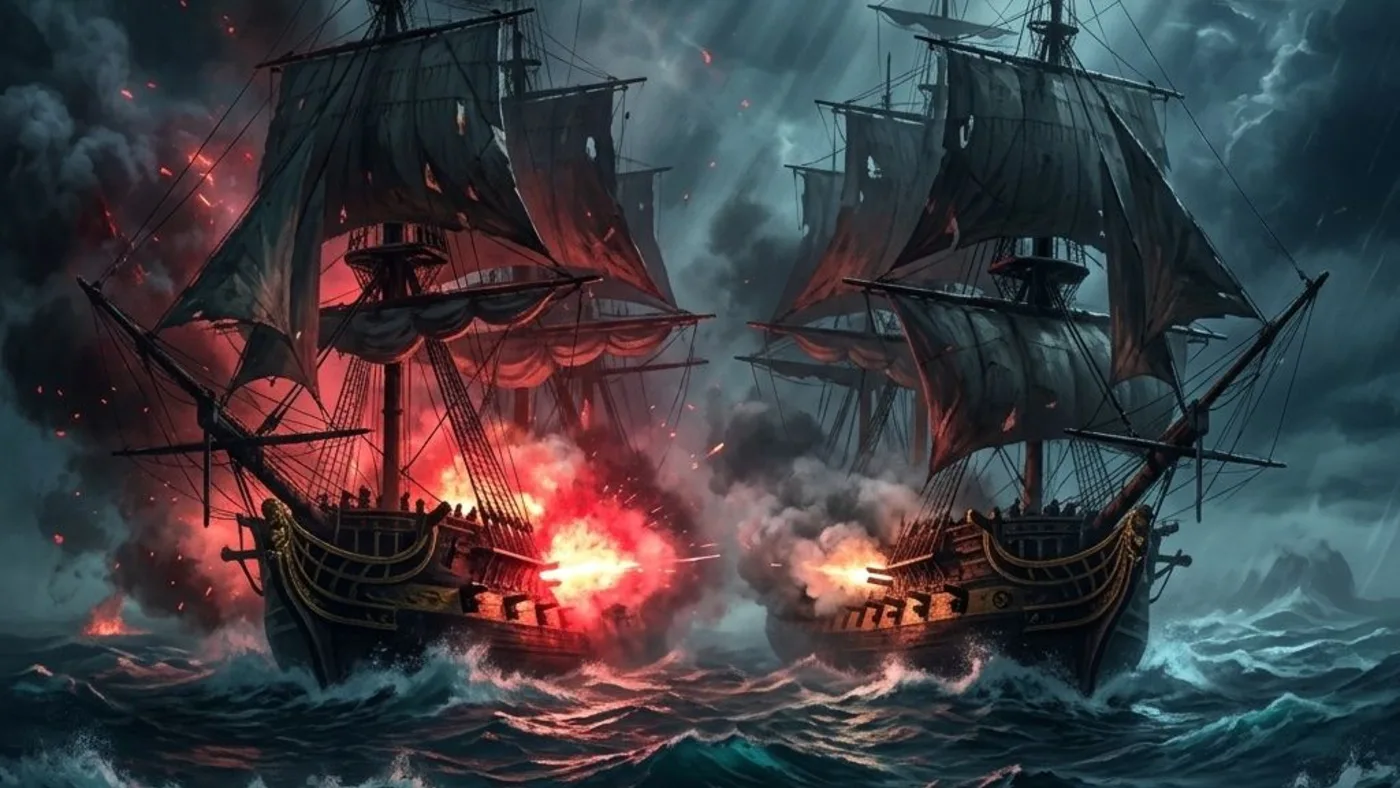
| Fort | Prepare the Jackdaw, mortar range, repair supply, and a land exit | Fort captured, morale route understood, and regional points revealed |
| Port | Visit the Harbourmaster before the next long voyage | Restocked weapons and a ship lane that matches the next fight |
| Shipwreck or deep water | Decide between Dive Anywhere and Diving Bell | Oxygen, current, and return route accounted for |
Leave-region ledger
Record unresolved work before sailing away
The most expensive location mistake is leaving with a vague memory of what was missing. Use a small ledger with place, activity family, access condition, and next page. The return trip then starts from evidence instead of a second scan of the entire region.
| Write down | Example | Next page |
|---|---|---|
| Place anchor | Havana rooftop, Nassau port, Great Inagua beach | Map |
| Activity family | Shanty chase, deep chest, stela, fort | Collectibles / Treasure Maps / Naval |
| Access condition | Diving Bell, story objective, officer quest, fort capture | Walkthrough / Jackdaw |
| Proof still missing | Counter, reward, marker, or menu state | Owner page for that proof |
| Return heading | Same island cluster or same water lane | Pathfinder or location hub |
Place-type exit check
Leave a location only when its route type has a finish signal
The same checklist does not fit a city, island, fort, or wreck. Match the place to the proof that closes its main risk, then record anything that still belongs to a different page.
- Write the place type beside the name; a fort and a city can share a region but require different preparation and proof.
- Keep an unresolved stop attached to its access condition, such as a story objective, Diving Bell, hunt chain, or ship upgrade.
- Use Map for the anchor, Collectibles for the family counter, Treasure Maps for buried rewards, and Walkthrough for progression gates.
- Set the next waypoint before leaving. A location hub is successful when the return trip has one clear reason, not a vague memory of a missing icon.
| Place type | Main risk | Finish signal before sailing |
|---|---|---|
| City | A moving or rooftop pickup sends you back through the district | Shanty, viewpoint, movement family, and nearby story marker are either closed or recorded |
| Island or ruin | A beach, puzzle, or buried clue is mistaken for the whole region | Map anchor, treasure or stela route, and local counter agree |
| Fort or sea lane | The land phase starts with a damaged or underprepared Jackdaw | Naval result, repair state, regional reveal, and exit heading are clear |
| Shipwreck or dive | Access, oxygen, or return route turns one pickup into a second voyage | Dive method, underwater reward, and return-to-port plan are recorded |
| Mission location | Story progression changes what the place exposes | Current objective is complete or the next memory/optional condition is named |