

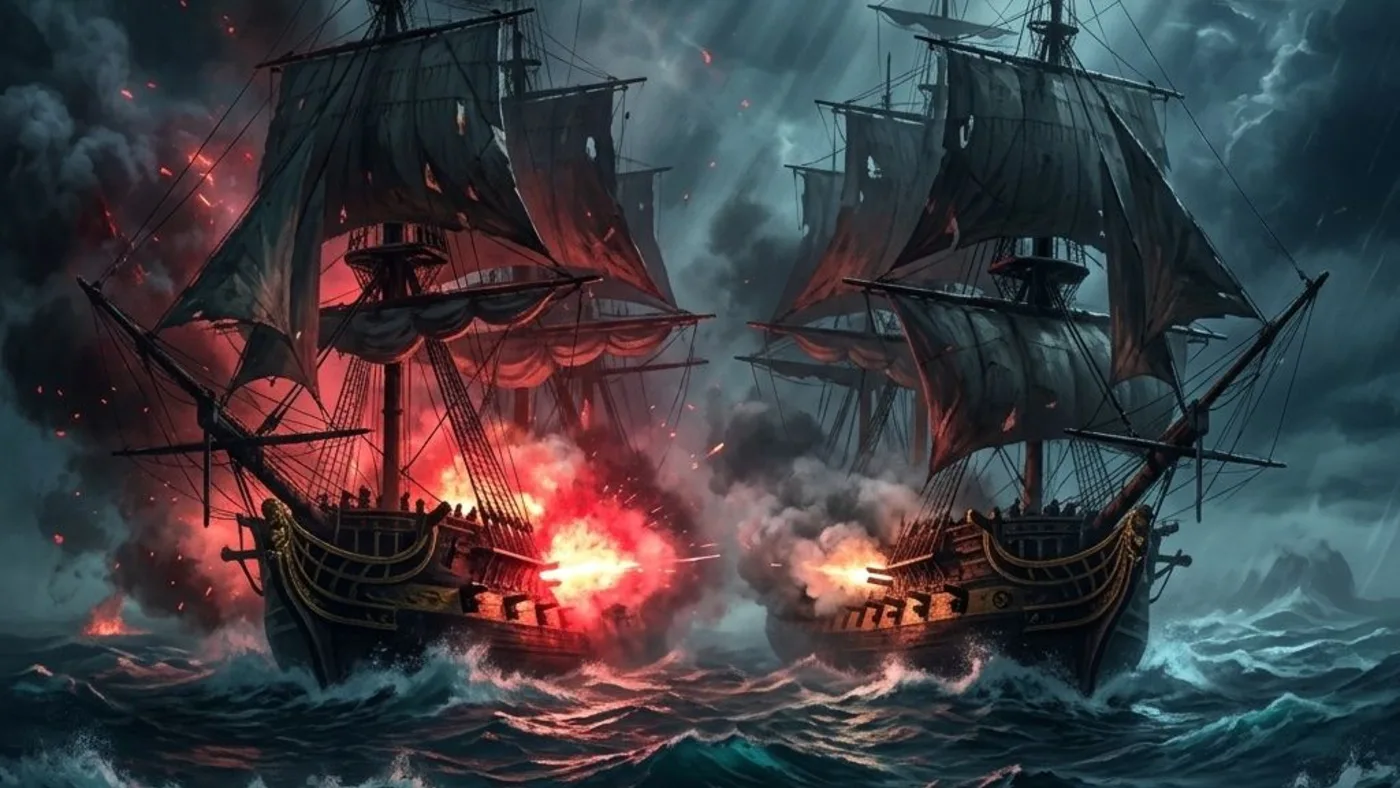
Ship power
Upgrade the blocker, not everything at once
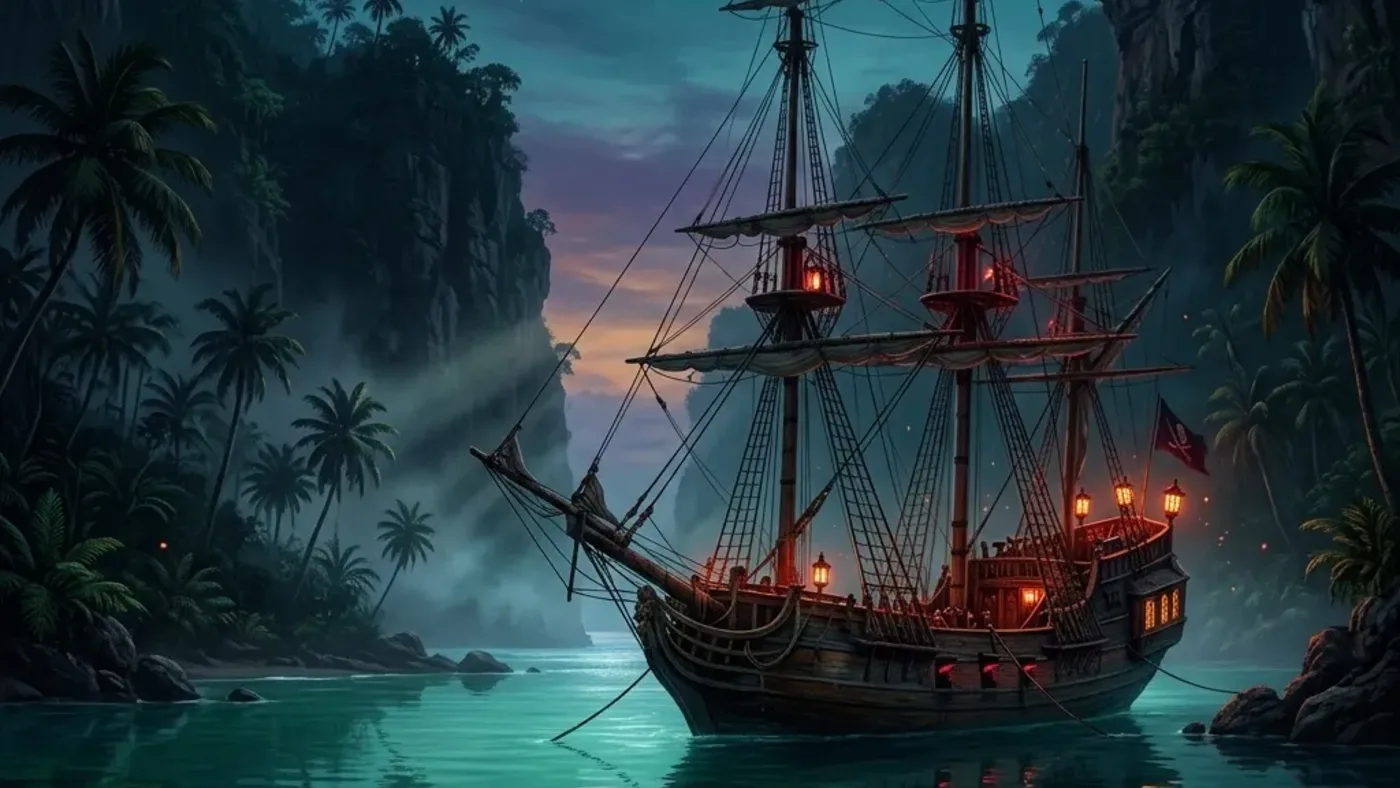
Use the Jackdaw page when a route fails because the ship cannot survive, hit hard enough, or control range.
| Upgrade lane | Best use | Route trigger |
|---|---|---|
| Hull and armor | Survive longer fights | Forts, legendary ships, hard contracts |
| Broadside and heavy shot | Win close-range exchanges | Boarding routes and large brigs |
| Mortars | Start fights safely at range | Forts and heavy ships |
| Ram and fire barrels | Control approach and pursuit | Chases, boarding setup, and escape routes |
| Harpoon and storage | Improve hunting and resource loops | Crafting and supply checks |
Priority route
Choose the next upgrade by failure symptom
Before spending reales, materials, or a long sail on an elite plan, name the exact naval failure you are trying to remove.
| If this keeps happening | Prioritize | Safe check |
|---|---|---|
| The Jackdaw sinks before boarding | Hull and armor | Retry only after the ship can survive the opening exchange |
| Enemy ships survive too long | Broadside cannons and heavy shot | Check damage before chasing a different route |
| Forts punish close approach | Mortars | Open at range before sailing under heavy fire |
| Targets escape or rams miss | Ram strength and fire barrels | Fix approach control before blaming route timing |
| A top upgrade is locked | Elite design plans | Confirm plan location, coordinate, and any treasure overlap first |
Upgrade checklist
Before chasing an elite design plan
Elite plan routes cost time, so confirm the need before sailing across the map.
- Check whether the upgrade is already installed.
- Confirm the location, coordinate, or treasure reward tied to the plan.
- Group nearby map and collectible checks into the same sail.
- Return to Naval when the next blocker is a fort, contract, or legendary ship.
Elite locations
Open the plan route only after choosing the upgrade lane
Elite plan locations are most useful when the Jackdaw menu already shows which late-game upgrade is missing.
New Game+ watch
Do not buy the next ship lane on announcement alone
Ubisoft announced New Game+ in its launch coverage, while the current official feed separately lists Title Update 1.0.7. An announcement is a planning signal, not proof that a new upgrade cost or carry-over rule is live in your save.
- Name the failure symptom first: sinking, weak damage, fort approach, pursuit, or storage pressure.
- Change one Jackdaw lane and repeat the same encounter setup so the comparison means something.
- Use Elite Design Plans and Treasure Maps only after the menu shows that the plan fixes the current blocker.
- Check the live build or official note before planning a New Game+ carry-over route.
Upgrade diagnosis
Why can a sensible Jackdaw upgrade order still fail?
Ship progression is encounter-specific. A damage purchase cannot fix a range problem, and a storage upgrade cannot rescue a hull that is already collapsing. Match the symptom to the lane before spending resources.
- Write the symptom in one sentence before opening the upgrade menu.
- Buy or test one lane, then repeat the same encounter setup.
- If the result improves, route the matching elite plan; if it does not, return to the symptom rather than buying everything.
- Treat New Game+ carry-over as a live-build question until the current menu shows the rule.
| Failure symptom | Lane to test | What a useful retry records |
|---|---|---|
| Sinking before the second exchange | Hull and armor | Hull remaining at the same checkpoint |
| Boarding takes too long | Broadside, heavy shot, or crew pressure | Time from first broadside to boarding |
| Forts punish the approach | Mortars and range | Distance at which the first damage lands |
| Targets escape | Ram, fire barrels, or control | Whether the same opening keeps the target in range |
| Hunting or salvage runs out | Harpoon strength and storage | Material or cargo collected on the same run |
Ship progression expertise
Upgrade the Jackdaw through resources, officers, and the encounter in front of you
Resynced moves ship purchases to Harbourmasters and adds officer perks that change the order in which a weak Jackdaw can become reliable. Boarding is also a resource decision: it pays more loot than sinking, but costs crew and time. Use the upgrade page as a diagnosis, not a universal shopping list.
- Visit the Harbourmaster when the menu tells you an upgrade or restock is available; the Captain's Cabin is for appearance, outfit, pet, and fleet management.
- Use the Spyglass before an engagement to see whether the target carries the material you actually need.
- If boarding, repair the Jackdaw, lower Wanted Level, add the ship to Kenway's Fleet, or take a Captain's Lockbox only after checking the next route.
- Test one weapon lane in the same encounter before buying a second lane.
- Treat an officer quest as part of progression when its perk solves the exact failure symptom.
| If the problem is | Inspect first | Why this is the expert route |
|---|---|---|
| The opening exchange drains the hull | Hull, armor, repairs, and Lucy Baldwin's Perfect Brace quest | Survival gives you time to reach a second broadside or boarding window |
| Boarding takes too long | Broadside damage, crew state, heavy shot, and the Padre quest | The Padre adds boarding help and unlocks Ram Dash earlier than the classic route |
| A fort cannot be approached safely | Mortar range, storage, and Deadman Smith's gunner perk | Range and repeated salvos reduce the time spent in the fort's response zone |
| A target escapes | Bow chasers, ram, heated shot, and shrapnel barrels | The new secondary modes give pursuit and escape their own tools |
| You are farming resources | Spyglass cargo check, boarding reward, and Kenway's Fleet | You can choose between immediate loot, repairs, wanted-level reduction, or a fleet ship |
Ship resource ledger
Track what the Jackdaw needs before spending the next haul
Ship progression becomes clearer when the resource and the encounter are written together. Use the ledger to decide whether the next boarding should fund an upgrade, repair, wanted-level reduction, a fleet slot, or a Captain's Lockbox.
- Write down the next two sea objectives before choosing a purchase order.
- Use the Spyglass to avoid farming a ship that cannot provide the needed material.
- Do not treat a cosmetic fleet or Captain's Cabin choice as ship power progress.
- After a successful upgrade, repeat one known encounter so the benefit has a visible baseline.
| Current asset | Spend it on | Ask before confirming |
|---|---|---|
| Repair opportunity after boarding | Immediate hull recovery | Will a port be far away or is a long sea route next? |
| High-value cargo | A named upgrade lane | Does the next fight use that lane or is another stat the blocker? |
| Captured ship | Kenway's Fleet | Does its class match an available mission and can the fleet be repaired? |
| Crew after a boarding | Restock before a second fight | Would a lower-risk route preserve more crew than another boarding? |
| Officer quest available | Permanent perk route | Does Perfect Brace, Ram Dash, or extra fire solve the current symptom? |
Upgrade test ladder
Match the first ship change to the stage where the route breaks
A purchase is useful only when it changes the part of the encounter that ends your attempt. Record the first failure stage, change one upgrade lane, and repeat a comparable opening before spending on a second solution.
- Repair the Jackdaw and restock at the Harbourmaster before creating a baseline; a damaged ship can make every lane look weak.
- Write the exact moment the attempt failed instead of recording only that the ship lost.
- Keep the target, sea heading, opening distance, and weapon choice as similar as the current build allows, and note weather when it changes the result.
- Change one lane, repeat the encounter, and keep the result beside the menu state so a plan pickup is not mistaken for an installed improvement.
- If the same stage still fails, keep the upgrade marked as owned and move the diagnosis to Naval, Elite Design Plans, or Treasure Maps rather than buying every lane at once.
| Failure stage | Evidence to record | First adjustment | Proof after retry |
|---|---|---|---|
| Before the target is in range | Target heading, chase distance, and the turn where it escapes | Bow chasers, ram control, or fire-barrel timing | The same approach reaches the target without an emergency turn |
| The first broadside exchange | Hull remaining after the opening salvos, brace timing, and weather | Hull, armor, repairs, or Lucy Baldwin's Perfect Brace route | The Jackdaw reaches the next damage window with more hull |
| The damage window | Number of broadsides, heavy shots, or mortar hits before the target disables | Broadside damage, heavy shot, or the matching secondary fire | The same target reaches boarding state in fewer passes |
| The boarding deck | Crew count, enemy morale, landing side, and time to secure the deck | Crew restock, boarding support, or the Padre quest | The boarding completes with the intended loot, repair, fleet, or lockbox choice |
| A fort's opening approach | Distance of the first mortar shot, ammunition left, and morale change | Mortar range, storage, or the alternate mortar mode | The same range keeps fort pressure manageable before the land phase |
| After the purchase | Menu state, exact opening, and whether weather or target class changed | Repeat the baseline with only one lane changed | A measurable result appears; otherwise route the new symptom to Naval or Elite Design Plans |