




Completion route
Clear by type, but sail by region
The fastest completion route is usually one region sweep that combines several collectible types.
| Type | Best timing | Route hint |
|---|---|---|
| Viewpoints | Before detailed cleanup | Reveal nearby icons and reduce backtracking |
| Animus Fragments | During city or ruin sweeps | Group with rooftops, caves, and shipwreck paths |
| Sea Shanties | When already on rooftops | Plan the chase direction before the sheet moves |
| Templar Keys | When following mission or hunt chains | Check unlock progress before leaving the region |
| Mayan Stelae | When solving outfit routes | Pair with map and location checks |
Region-first sweep
Choose the sweep by what can waste time
Use this route split when a region has several icons and you need to decide what to clear before leaving.
| Route problem | Clear first | Safe move |
|---|---|---|
| The map is still fogged | Viewpoints and local map checks | Reveal nearby icons before chasing small markers |
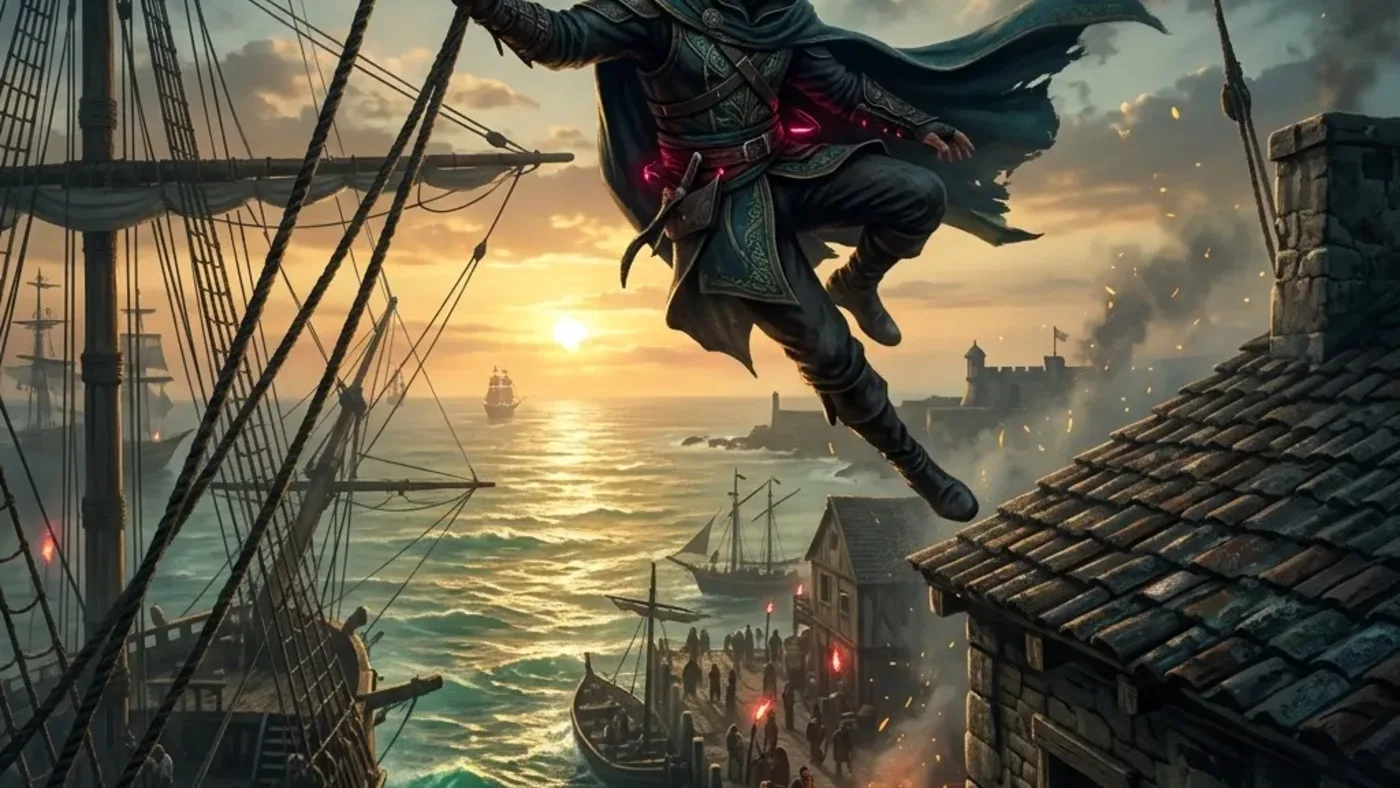
| A rooftop route is active | Sea shanties and Animus fragments | Finish movement checks while Edward is already above the street |
| A reward chain is active | Templar keys, Mayan stelae, or treasure maps | Confirm unlock progress before marking the region complete |
| A ship route is nearby | Treasure maps and elite plan overlaps | Compare Jackdaw needs before sailing away |
| The counter looks incomplete | All nearby collectible types | Search the region name and confirm the save counter |
Sweep checklist
What to check before closing a region
Use a closing checklist when a city, island, or shipwreck looks complete.
- Sync viewpoints and scan the local map.
- Search the region name in the database.
- Check fragments, shanties, chests, keys, stelae, and treasure maps together.
- Confirm the in-save counter before sailing away.
Named chest decisions
Check the reward before treating a chest as another map icon
These two chest stops solve different problems. The Havana outfit needs a guarded-area entry; the Great Inagua pistol can change whether a store purchase is worth the reales. Confirm the marker and named reward in your current save before folding either stop into a broader sweep.
Completion refresh
Make a regional sweep resilient to updates
After launch updates, a saved checklist is more useful when it records both the pickup and the evidence that closed the stop. Use the family filter, confirm the current counter, and leave a note for anything that needs a second pass.
- Choose one city, island, fort, or shipwreck cluster before switching collectible families.
- Mark a pickup only after the marker, reward, or save counter agrees with what you saw in-game.
- If an old route misses, return to Map or Locations and retry the smallest cluster instead of clearing the whole region again.
- Use Sea Shanties, Templar Keys, and Mayan Stelae as separate route owners when their movement or unlock rules differ.
Counter diagnosis
Why can a collectible counter stay incomplete after the marker is gone?
A missing icon, a collected pickup, and a completed regional counter are three different states. Use the smallest check that distinguishes them so you do not repeat an entire island sweep for one unresolved family.
| What you see | Check next | Recovery path |
|---|---|---|
| The icon is still visible | Return to the marker and confirm the pickup animation | Save locally, then recheck the same spot |
| The icon vanished but the count did not move | Check the family filter and current save counter | Search the nearest matching family in Map |
| The counter is one short | Compare the region list with nearby viewpoints and rooftops | Run the smallest missing cluster, not the whole map |
| The reward or outfit is missing | Open the linked key, stela, or treasure route | Finish the prerequisite before marking cleanup complete |
| An old guide points to nothing | Confirm the landmark in the current build | Keep the clue, then verify the live marker |
Completion route
Group collectibles by movement and access cost
The remake has 35 returning shanties plus 10 new shanties tied to quests and activities, while underwater loot now has both Dive Anywhere access and deeper Diving Bell routes. Treat these as different jobs: chasing a moving song sheet, clearing a city rooftop, and emptying a deep wreck should not share one generic checklist.
| Collection job | Best route order | Completion proof |
|---|---|---|
| Moving shanty in a city | Set the camera and rooftop line before the sheet starts moving | The song is collected and the nearby movement route is clear |
| New quest/activity shanty | Check the current quest or activity before searching old city routes | The new song appears in the current collection |
| Surface chest or fragment | Combine with the nearest viewpoint, rooftop, or location hub | Marker disappears and the regional counter changes |
| Deep underwater chest | Unlock or use the Diving Bell and plan oxygen, current, and shark risk | Chest reward is visible in the save, not only on the map |
| Stale regional counter | Reopen the family filter after the local sweep and reload if necessary | The updated counter agrees with the completed icons |
Regional field worksheet
Clear one region in four passes instead of four separate trips
A regional sweep is more reliable when each pass has a different purpose. The first pass reveals movement and access constraints, the second collects what is already on the route, the third handles water or activity prerequisites, and the final pass verifies the counter.
- Keep moving shanties as a separate timed job; do not pause a city sweep halfway through a chase and call it complete.
- Use the reward or outfit state as a second proof when an icon disappears but the counter does not move.
- After a fort synchronization, refresh the region map before deciding that a point of interest is missing.
- Save the unresolved family and region together so the next visit is a short cluster, not a full-map restart.
| Pass | Work | Leave a note about |
|---|---|---|
| 1 · Reveal | Open the location hub, viewpoints, fort state, and major markers | Missing access, unexplored water, or a locked activity |
| 2 · Surface | Run rooftops, fragments, chests, shanties, keys, and stelae that share the landing | Any moving pickup or objective that needs a second attempt |
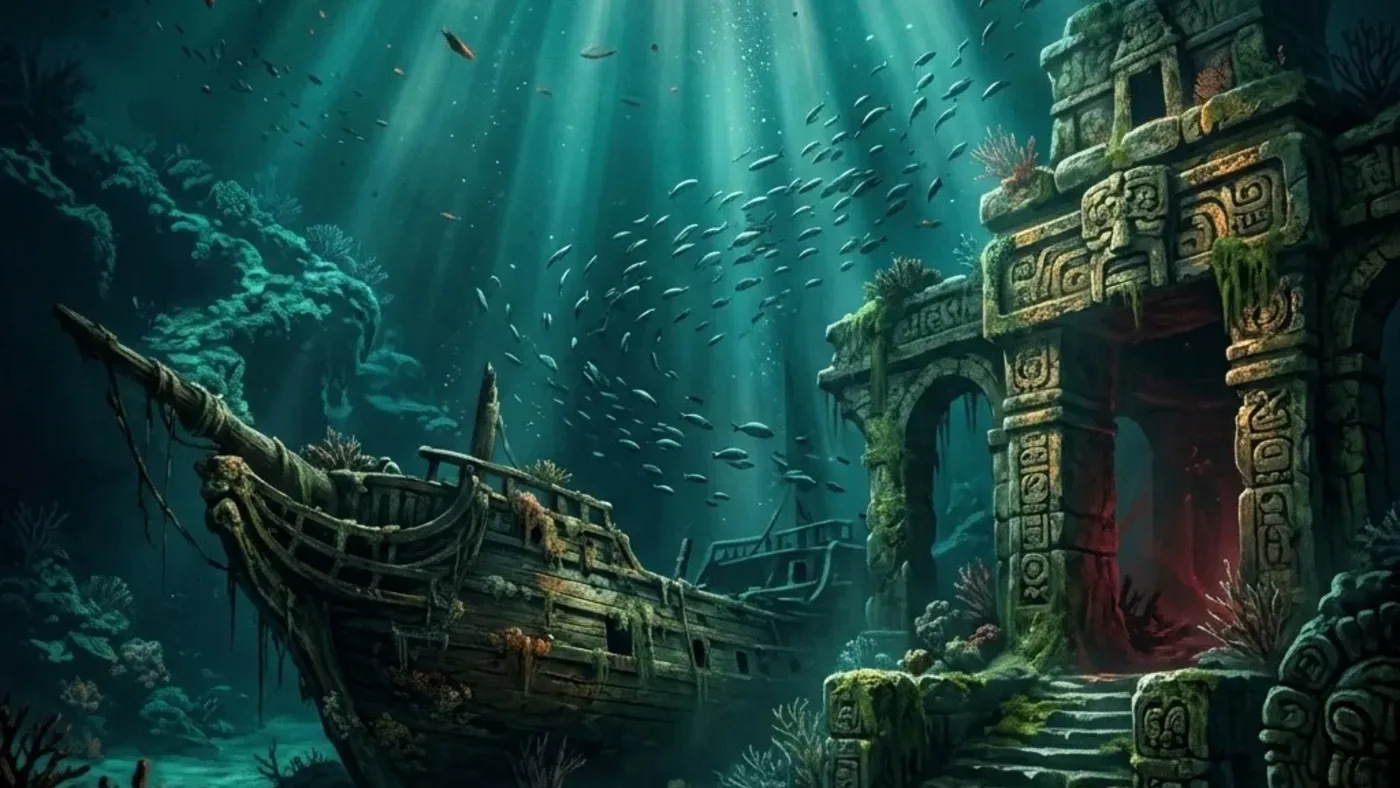
| 3 · Water | Use Dive Anywhere for suitable shallow routes and the Diving Bell for deep wrecks | Oxygen, current, wildlife, and return-to-port needs |
| 4 · Verify | Reload the map, compare the family counter, and inspect the reward state | The one unresolved marker that should become the next search term |
Family priority route
Choose the collectible order by movement cost and failure risk
A region sweep is faster when the order respects how each family behaves. Moving targets can disappear, vertical routes are cheaper while Edward is already climbing, water checks need their own access, and counters should be verified only after the prerequisite chain is clear.
- Run moving and vertical families before dropping back to the dock; that keeps the most route-sensitive work inside one visit.
- Treat a missing reward or outfit as a prerequisite problem until the family counter and the save state agree.
- When a water stop fails, record the access method and return heading instead of marking the entire region incomplete.
- Close the region only after the local family marks, the in-save counter, and the linked reward or outfit route tell the same story.
| Family or route | Run it when | Risk if delayed | Finish proof |
|---|---|---|---|
| Sea Shanties | The city or rooftop line is already open | The sheet moves away and the chase needs a second setup | Song pickup is visible in the save |
| Viewpoints and fragments | Edward is already above street level | A second climb or long return through the same district | Marker and family counter agree |
| Chests and static pickups | The landing or landmark is confirmed | A later sweep repeats the same travel line | Pickup or reward state is recorded |
| Diving routes | The Diving Bell or shallow-water access is ready | Oxygen, current, or wildlife turns a quick stop into a separate trip | Chest, fragment, or reward is visible after the dive |
| Keys and stelae | The hunt or outfit prerequisite is active | A completed marker still leaves the unlock chain incomplete | Counter, outfit, or next hunt step updates |