



Parkour answer
Where parkour matters in Black Flag Resynced
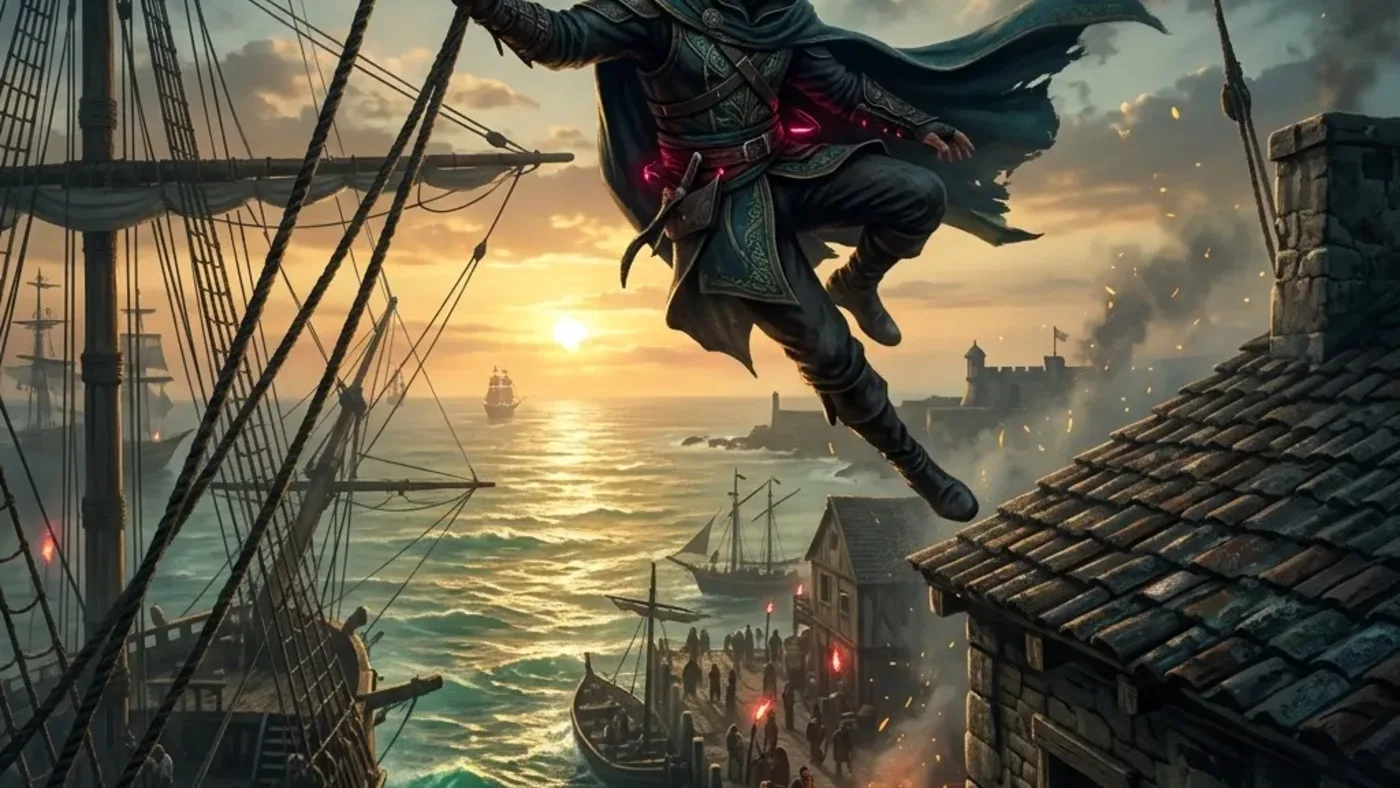
Parkour matters whenever Edward needs rooftops, viewpoints, shanty chases, Animus fragments, city shortcuts, stealth approaches, or escape routes through dense streets.
- Sync viewpoints before chasing small icons in Havana, Nassau, Kingston, ruins, or shipwreck routes.
- Read the rooftop line before triggering a moving sea shanty sheet.
- Group fragments, chests, viewpoints, and shanties while Edward is already above street level.
- Switch back to stealth thinking when a rooftop path crosses a restricted area or guard sightline.
Movement types
Which movement route are you solving?
Parkour is not one problem. The route changes depending on whether the target is moving, hidden, high above the street, or inside a guarded area.
Route habit
How to avoid repeated climbing
The best parkour route clears nearby vertical objectives together instead of treating every icon as a separate climb.
- Start with the viewpoint or tallest safe route in the area.
- Sweep visible rooftop fragments and chests before dropping to street level.
- Chase shanties only after reading the likely path across ropes, roofs, beams, and corners.
- Before leaving the city, search the location name in Map or Collectibles for anything still nearby.
Movement casebook
Do not use a shanty chase line for a rooftop tail
The fastest rooftop input is not always the useful one. A moving sheet rewards a rehearsed landing, a tail rewards a stable sightline, and a guarded compound rewards a quiet drop. Pick the route goal before choosing guided movement or an Advanced Parkour input.
- Practise a manual jump or side/back eject on a short, repeatable segment before using it in a chase or optional-objective memory.
- At a moving sheet, watch its first direction once if necessary; a failed attempt should teach the next landing, not trigger a whole-city resweep.
- When the route is a tail, keep the target and eavesdrop range in view. Do not detour for a fragment until the memory result is recorded.
| Route type | What to identify before moving | Smallest retry | Completion proof |
|---|---|---|---|
| Traveling Salesman rooftop tail | First Havana landing, next roof edge, eavesdrop zone, and the manor transition. | Return to the last roof that held the pair in range; change the landing, not every stealth tool. | The target conversation and tail objective register. |
| The Spanish Commander compound | Rooftop observer, haystack, tree-line cover, and a safe exit above the guards. | Re-tag from the first perch if the lower drop becomes exposed; speed is secondary to the no-combat condition. | The stealth bonus survives the target takedown. |
| Moving sea-shanty sheet | Trigger roof, next two landing surfaces, turn direction, and the nearest safe reset point. | Wait at the trigger roof, repeat the same chase, and test one shorter side-eject only when its landing is visible. | The sheet disappears into the collection and the local count changes. |
| Stationary viewpoint or fragment | The climb start, highest safe surface, and nearby static pickups. | Use guided movement first; a risky manual jump offers little when the marker does not move. | The viewpoint reveal or fragment counter updates before the next rooftop sweep. |
Movement choice
Use Advanced Parkour only when a precise landing shortens this route
Resynced offers guided movement as well as Advanced Parkour, with manual jump and side or back ejects. In Havana rooftops, Kingston balconies, or Nassau rigging, map the landing before changing the setting. A controlled eject helps only if it avoids a slower drop, missed shanty, or exposed stealth landing.
| Route in front of Edward | First setting or move | Retest if it fails |
|---|---|---|
| Unfamiliar viewpoint or high ledge | Guided movement to learn the safe climb | Keep the known landing; do not test a non-targeted jump over open space |
| Shanty turns across a side roof | Advanced Parkour side eject after a low-risk practice pass | Return to the trigger roof and read the sheet's path before running |
| Rooftop target sits behind the current edge | Back eject only when the rear landing is visible | Use a guided turn or zipline if the camera cannot hold the landing |
| Chase loses speed after a drop | Use a controlled landing and roll where the route permits | Repeat the same segment before changing the entire path |