
Jackdaw / Elite Design Plans
Hull Armor Ultimate Plan – San Ignacio Wreck
Inspect the current Hull Armor line at the harbourmaster, then check San Ignacio wreck access and the diving-bell route near 348, 744.
- Coordinates
- 348, 744 (Resynced wreck lead)
- Area
- San Ignacio wreck
- Location
- San Ignacio underwater Secret
- Reward
- Hull Armor Ultimate Plan (confirm in the current save)
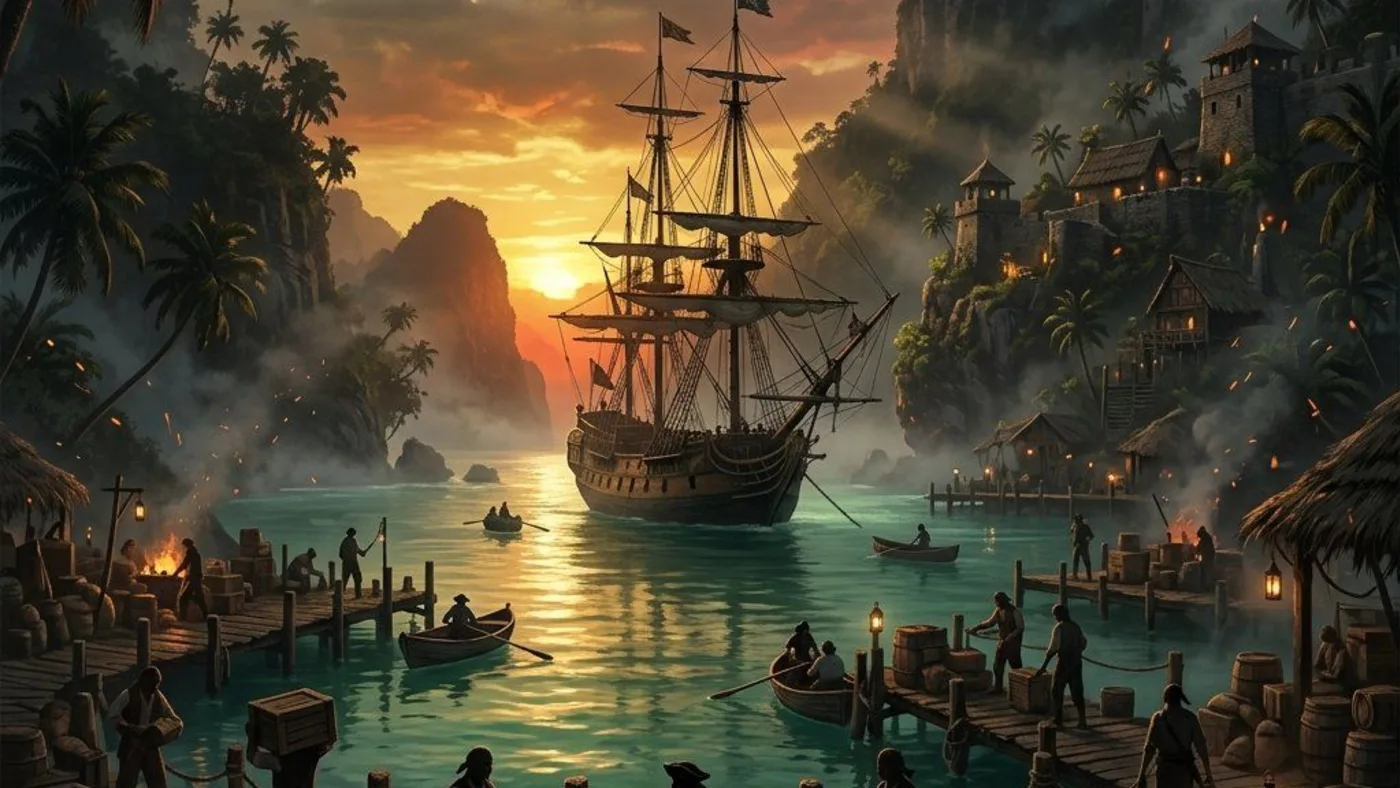
Player workbench
Find the hull-armor plan and decide whether it is the next Jackdaw survival fix.
San Ignacio's underwater chest and Tortuga's treasure map award different plans. Following the map for hull armor wastes a sail and leaves the wreck untouched.
Why this entry is useful
A wreck-versus-map split: San Ignacio dive, exact Hull Armor Ultimate Plan pickup, then same-opening survival test.
The Resynced San Ignacio wreck lead is around 348, 744, rather than the older 379, 770 point. The current map, underwater pickup and Hull Armor Ultimate menu line must agree.
Inspect the current Hull Armor line at the harbourmaster, then check San Ignacio wreck access and the diving-bell route near 348, 744.
The plan is in inventory, the hull-armor menu line changes state, and a repeat of the same enemy opening shows whether extra survivability was the missing lane.
What are you trying to do with this entry?
Choose one decision and follow 3 checks in order.
- Wreck approachName the failure: if the Jackdaw is lost before its first useful firing cycle, prioritize hull survival over extra ammunition.
- Ship choiceCheck San Ignacio wreck around 348, 744 and diving-bell access in the current map; Tortuga's map belongs to the mortar-storage route.
- Fight testAfter collecting the plan, compare its menu prerequisites and repeat the same first enemy broadside before spending on another lane.
Start with the first check above and keep the confirmed area, marker, or objective beside the next move.
San Ignacio's underwater chest and Tortuga's treasure map award different plans. Following the map for hull armor wastes a sail and leaves the wreck untouched.
The plan is in inventory, the hull-armor menu line changes state, and a repeat of the same enemy opening shows whether extra survivability was the missing lane.
Separate source error from ship need
San Ignacio is a wreck-access decision first and a spending decision second. Confirm the exact hull-plan reward before comparing the next Jackdaw purchase.
The wreck or plan disagrees
If the wreck lacks the named plan, preserve the last confirmed marker and check the current plan-menu hint. If the plan installs but the same enemy opening still sinks the Jackdaw, change the encounter angle or another survival cause before another purchase.
Menu → wreck access → survival retest
- Name the failure: if the Jackdaw is lost before its first useful firing cycle, prioritize hull survival over extra ammunition.
- Check San Ignacio wreck around 348, 744 and diving-bell access in the current map; Tortuga's map belongs to the mortar-storage route.
- After collecting the plan, compare its menu prerequisites and repeat the same first enemy broadside before spending on another lane.
Route Plan
How to use Hull Armor Ultimate Plan – San Ignacio Wreck
Use this Jackdaw upgrade check before spending resources: verify Hull Armor Ultimate Plan – San Ignacio Wreck around San Ignacio wreck. The current coordinate check is 348, 744.
- Check the hull line in the Jackdaw menu and the current wreck marker before sailing.
- Start with San Ignacio wreck check before moving to nearby markers.
- Mark 348, 744 before you leave port or fast travel.
- Confirm the reward shown in your save: Hull Armor Ultimate Plan (confirm in the current save).
Save Checklist
Save Checklist
Use these checks before marking Hull Armor Ultimate Plan – San Ignacio Wreck complete.
- Entry type: Jackdaw Upgrade.
- Recommended check: Check Jackdaw menu.
- Main risk: A wrong-source dive or an unnecessary armor purchase wastes route time and materials.
- Confirm the marker, reward, or requirement in the current Resynced build.
- Open next: locations/san ignacio.
Upgrade Lane
Upgrade Lane
Treat this as a ship-power decision, not just a map pickup.
- Confirm whether the upgrade improves storage, armor, broadside, mortar, ram, fire barrel, harpoon, or heavy shot power.
- Use 348, 744 for the map check before leaving port.
- Match the upgrade lane to the naval fight that is actually blocking you.
Before Spending
Before Spending
The Jackdaw menu should decide whether this route is worth the sail.
- Check whether the upgrade is already installed or still locked.
- Compare the plan against your current failure: sinking, low damage, weak range, bad approach, or storage pressure.
- Group nearby treasure maps and location checks into the same route.
Naval Retry Prep
Naval Retry Prep
Use the upgrade only when it changes the next sea fight.
- Restock ammunition before retrying forts, contracts, or legendary ships.
- Use mortars for safer openings when close approach is the problem.
- Return to Naval after the plan is installed so the fight route matches the new ship power.
Common Questions
How do I reach Hull Armor Ultimate Plan – San Ignacio Wreck?
For Hull Armor Ultimate Plan – San Ignacio Wreck, start from San Ignacio wreck and confirm the 348, 744 plan marker. Use the San Ignacio wreck marker and diving-bell access check before the underwater pickup to identify the pickup approach, then keep the source clue and the plan name together before returning to the Jackdaw menu.
What should I verify after collecting Hull Armor Ultimate Plan – San Ignacio Wreck?
At San Ignacio wreck, verify that the current ship menu accepts Hull Armor Ultimate Plan – San Ignacio Wreck; compare the recorded “Hull Armor Ultimate Plan (confirm in the current save)” signal with the 348, 744 plan marker instead of treating a visible map icon as an installed upgrade. Repeat the same naval opening that caused the problem so you can tell whether the plan changed survival, damage, range, control, or capacity.
What if Hull Armor Ultimate Plan – San Ignacio Wreck is visible but cannot be installed?
For Hull Armor Ultimate Plan – San Ignacio Wreck, keep the 348, 744 plan marker as the confirmed pickup, then check the Harbourmaster or Captain's Cabin for the missing prerequisite and materials. Do not buy another lane until the menu names the blocker around San Ignacio wreck.