Locations / Shipwrecks
San Ignacio
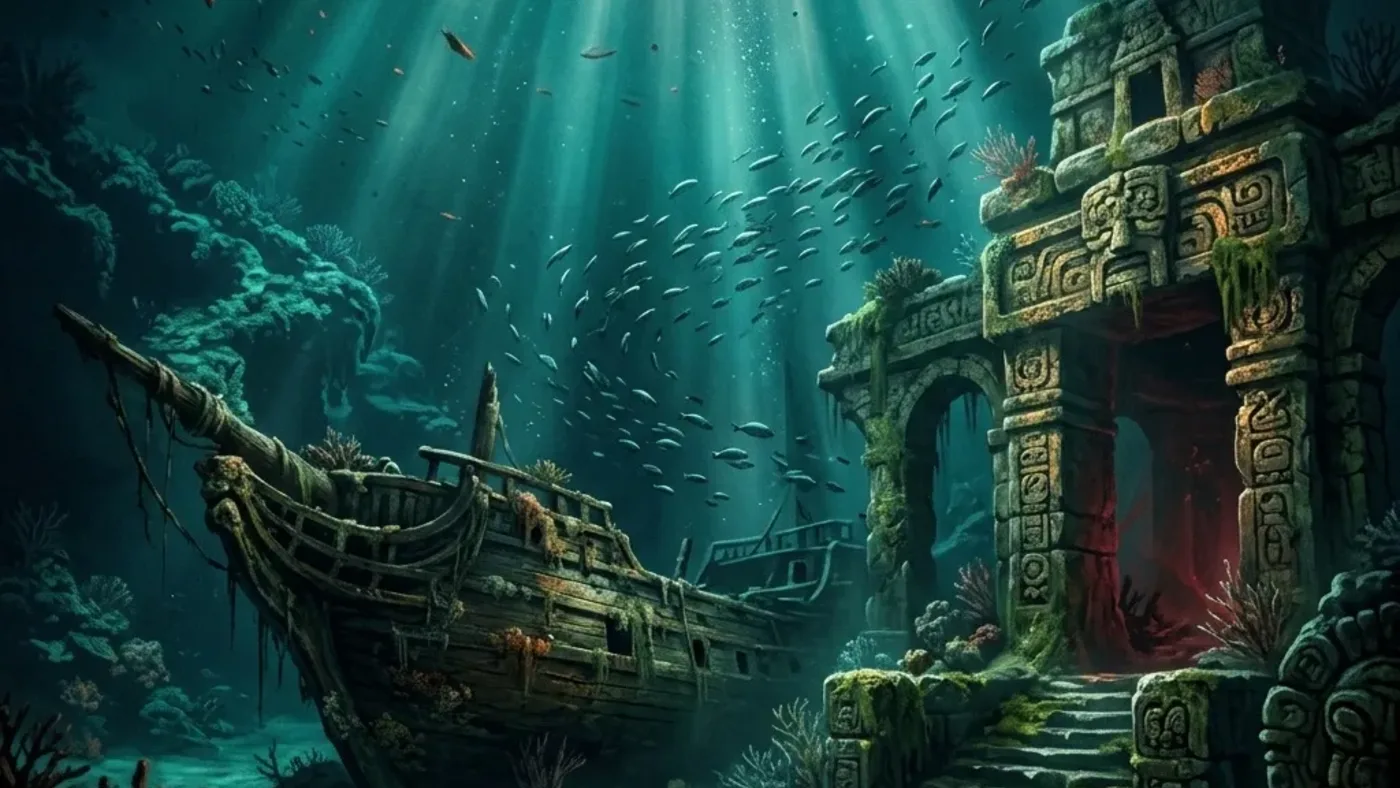
Inspect the current map and Hull Armor Ultimate Plan need before sailing. At San Ignacio near 348, 744, verify the wreck/dive interaction and preserve the return landmark.
- Coordinates
- 348, 744 (Resynced wreck lead)
- Area
- San Ignacio wreck
- Location
- San Ignacio underwater Secret
Player workbench
Plan a San Ignacio wreck visit without confusing an underwater plan check with a surface treasure marker.
A sea coordinate can bring the Jackdaw to the wreck while leaving Edward unprepared for the dive, access condition, or return trip.
Why this entry is useful
A dive packet that separates ship approach, diving-bell access, named plan pickup, and Jackdaw-menu proof.
The Resynced San Ignacio wreck lead is around 348, 744. Do not treat the older 379, 770 point, a surface chest or another plan as proof of the Hull Armor Ultimate pickup.
Inspect the current map and Hull Armor Ultimate Plan need before sailing. At San Ignacio near 348, 744, verify the wreck/dive interaction and preserve the return landmark.
The intended named plan is visible in inventory or the ship menu, and the player has returned safely to the Jackdaw.
What are you trying to do with this entry?
Choose one decision and follow 3 checks in order.
- Hull planBefore departure, compare the target plan's name with the current Jackdaw menu and check whether a diving-bell visit is available.
- MapAt the San Ignacio marker, identify the wreck access and a safe return line before going below; keep the plan name separate from other nearby rewards.
- UpgradeBack aboard, verify the exact plan and its prerequisites in the ship menu before marking the dive complete.
Start with the first check above and keep the confirmed area, marker, or objective beside the next move.
A sea coordinate can bring the Jackdaw to the wreck while leaving Edward unprepared for the dive, access condition, or return trip.
The intended named plan is visible in inventory or the ship menu, and the player has returned safely to the Jackdaw.
A wreck marker is not reward proof
Use San Ignacio as a contained dive packet: verify access, identify the reward, then check the Jackdaw menu before claiming completion.
The dive lacks the named plan
If the current build changes the dive entry or reward, do not substitute a different chest. Return to the named plan's menu hint and keep the wreck visit as a verified location, not an assumed upgrade.
Wreck approach → dive → menu
- Before departure, compare the target plan's name with the current Jackdaw menu and check whether a diving-bell visit is available.
- At the San Ignacio marker, identify the wreck access and a safe return line before going below; keep the plan name separate from other nearby rewards.
- Back aboard, verify the exact plan and its prerequisites in the ship menu before marking the dive complete.
Route Plan
Wreck approach → dive → menu
Use San Ignacio as a route hub for nearby collectibles, treasure maps, forts, contracts, or mission cleanup. Known coordinate checks include 348, 744.
- Check diving-bell availability and the plan name in the ship menu before sailing.
- Start with San Ignacio wreck check before moving to nearby markers.
- Mark 348, 744 before you leave port or fast travel.
- Confirm the reward or completion state before leaving the area.
Save Checklist
Save Checklist
Use these checks before marking San Ignacio complete.
- Entry type: Location.
- Recommended check: Check map.
- Main risk: A dive can become a duplicate or wrong-plan trip if only the broad wreck marker is checked.
- Confirm the marker, reward, or requirement in the current Resynced build.
- Open next: elite design plans/elite hull armor.
Region Sweep
Region Sweep
Use this location as a route hub when several checks sit in the same waters, city block, island, or ruin.
- Mark the listed coordinate cluster first: 348, 744.
- Clear viewpoints or fast-travel anchors before chasing smaller icons.
- Use the location as the container for nearby collectibles, treasure maps, contracts, and mission cleanup.
Nearby Checks
Nearby Checks
The value of a location page is what it helps you group before leaving.
- Search the same place in Collectibles before sailing away.
- Open Treasure Maps if the region connects to a clue, dig point, or buried reward.
- Open Jackdaw Upgrades or Naval if the nearby route involves forts, hard waters, or elite plans.
Leave-Region Safety
Leave-Region Safety
Close the region only after checking the local map state.
- Confirm visible markers, counters, and any active mission route in your save.
- Do not treat older route memory as final until the current build confirms marker behavior.
- Return to Map if another coordinate or nearby island remains unresolved.

Common Questions
What should I anchor first at San Ignacio?
Start with the 348, 744 anchor for San Ignacio wreck, then use the underwater wreck approach and diving-bell access and Hull Armor Ultimate Plan verification to identify the correct landing or entry. A shipwreck needs a water-entry and return plan, not only a surface marker.
Which nearby checks belong in the San Ignacio route?
Bundle only markers that share this shipwrecks approach: the ones attached to San Ignacio wreck, the same water heading, or the same access line. Keep 348, 744 as the return point before sailing away.
When is the San Ignacio sweep finished?
Leave San Ignacio wreck only after the 348, 744 anchor is confirmed, the underwater wreck approach and diving-bell access and Hull Armor Ultimate Plan verification access has been tested, and the remaining collectible, treasure, mission, or naval family is written down. A location anchor is not proof that every nearby icon is complete.